
Windows 11 System Restore Simple and Effective Tips and Tricks
author: KEXIDAR
2024-12-11
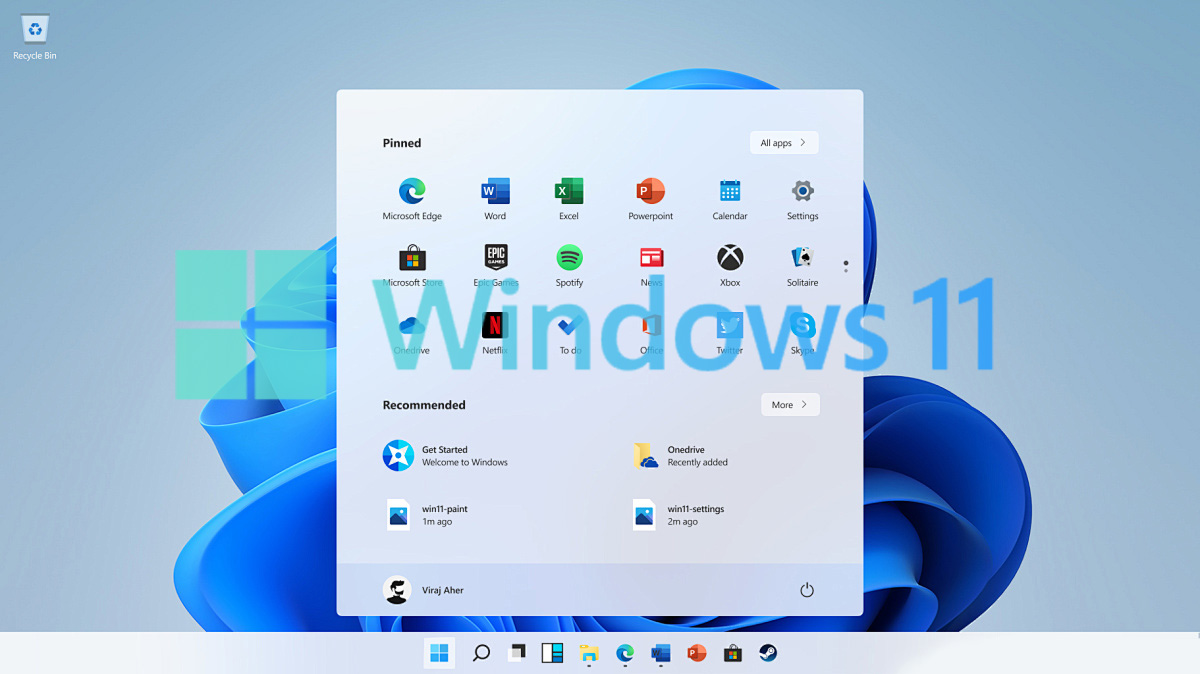
Windows 11 System Restore Simple and Effective Tips and Tricks
In our world today, technology advances every day and helps us make our work much easier and faster. In the event that we experience challenges in our systems, it makes sense to explore features that help us resolve these issues seamlessly. One of such features on the Windows operating system is the system restore point. A restore point is a saved snapshot of the state of your system at a particular point in time. This helps you to restore your system back to that point if you experience any issues. In this article, we will explore how to create a system restore point and restore steps for Windows 11.
How to Create a System Restore Point on Windows 11
Creating a system restore point on Windows 11 is a straightforward process. Follow the steps below:
Step 1: Click on the start button on your taskbar and search for "Create a Restore Point."
Step 2: Click on the option that says "Create a Restore Point," as illustrated in the image.

Step 3: This will bring up the "System Properties" window. Click on the "System Protection" tab.
Step 4: Click on "Create."
Step 5: Type in a suitable description for the restore point and click on "Create."
Step 6: Wait for the system to create the restore point. This might take a few minutes, depending on your system's speed.
Step 7: When the process is complete, click on "Close."


Voila! You have successfully created a system restore point for your Windows 11 system.
How to Restore Your System to a Restore Point on Windows 11
Now that you know how to create a restore point on Windows 11 let's take a look at how to restore your system to a previously created restore point.
Follow the steps below:
Step 1: Click on the start button on your taskbar and search for "Create a Restore Point."

Step 2: Click on the option that says "Create a Restore Point."
Step 3: This will bring up the "System Properties" window. Click on the "System Protection" tab.
Step 4: Click on "System Restore."
Step 5: Click on "Next."


Step 6: Select the restore point that you want to use. You can see the description that you created when you created the restore point.
Step 7: Click on "Scan for affected programs" to check for changes that will be made. This is important because some programs may be affected when you restore your system to that point.
Step 8: Click on "Close" when the scanning is complete.
Step 9: Click on "Next."
Step 10: Click on "Finish." This will prompt your system to restart.


Step 11: Wait for your system to restart. This might take some minutes, but once the process is complete, you have successfully restored your system to a previously created restore point.


Conclusion
In conclusion, the system restore point feature is a vital tool that helps you troubleshoot issues on your Windows 11 system seamlessly. Creating a system restore point and restoring your system to a previously created restore point is a simple process that takes just a few minutes. It is essential to note that creating restore points regularly is important, so you can always have several options to fall back on if needed.
как включить подсветку на ноутбуке?Подробный метод работы
Meet the Perfect Combination of Functionality and Style New Laptop Status
Related Article
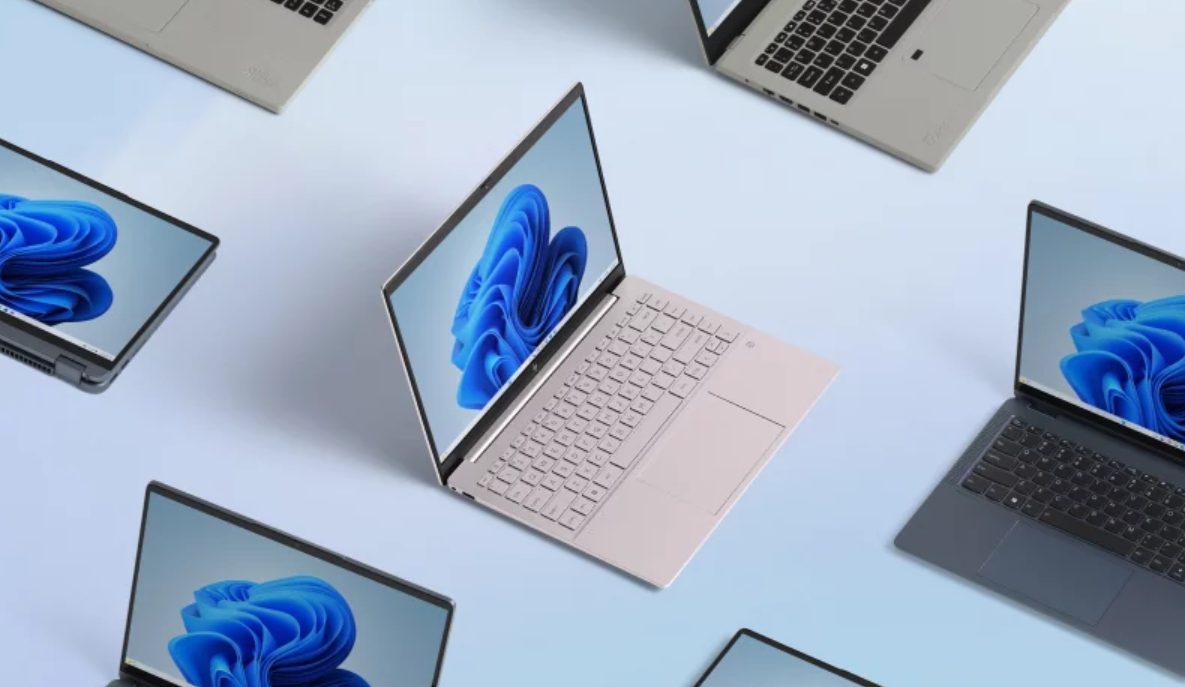
Let’s be real for a second: buying a laptop on a budget used to feel like a game of compromise roulette. Do you sacrifice performance for portability? Build quality for battery life?
The Sweet Spot: The Best Budget Laptops for Work and Play in 2026

Video editing is one of the most demanding tasks you can ask of a laptop. It requires a machine that can juggle high-resolution footage, complex effects, smooth real-time previews, and often, long rendering sessions.
Top Windows Laptop Picks for Video Editors in 2026

In the ever-evolving landscape of personal computing, the dual-screen laptop has emerged as a bold answer to a modern dilemma: how to expand digital workspace without sacrificing portability.
Dual screen laptop
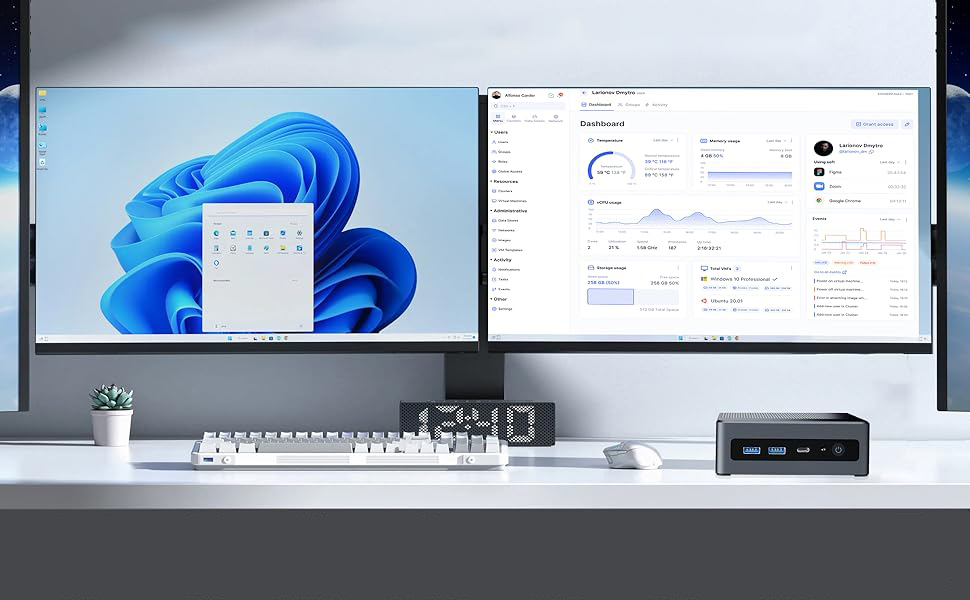
Ultimate Guide to Mini PCs for Modern Digital Nomads: Say goodbye to bulky laptops. This guide will show you how to leverage the powerful modular design, excellent cost-effectiveness, and desktop-level performance of mini PCs to build an efficient and secure mobile workstation in an ultra-portable form factor. From core component selection, global connectivity solutions to key security enhancements, it will help you create a portable office that can adapt to any situation.
The Ultimate Mini PC Rig for Digital Nomads: Engineering Your Portable Powerhouse