
How to add ram to a laptop

How to Add RAM to a Laptop
Upgrading your laptop’s RAM is one of the most effective ways to boost performance. Whether you’re multitasking, gaming, or running resource-heavy software, adding more memory can make a noticeable difference. In this guide, we’ll walk you through the process for several popular laptop models, using clear, user-friendly steps. No technical expertise required!
Before You Begin: Universal Precautions
-
Check Compatibility:
-
Use tools like Crucial System Scanner or your laptop’s manual to confirm the maximum RAM supported and the type (e.g., DDR4, DDR5).
-
Ensure the new RAM matches the speed (e.g., 2400MHz) and form factor (SO-DIMM for laptops).
-
-
Gather Tools:
-
Phillips-head screwdriver (size #0 or #1).
-
Anti-static wristband (optional but recommended).
-
Clean workspace with good lighting.
-
-
Backup Data:
-
While RAM installation rarely affects data, it’s wise to back up critical files.
-
-
Power Down:
-
Shut down the laptop, unplug it, and remove the battery (if removable).
-
1. Dell XPS 15 (9520)
Known for its sleek design, the XPS 15 requires careful handling to access its internals.
Steps:
-
Remove the Bottom Panel:
-
Flip the laptop over.
-
Unscrew the 8 Phillips-head screws (note: some may be hidden under rubber feet).
-
Use a plastic pry tool to gently release the clips around the edges.
-
-
Locate the RAM Slots:
-
The XPS 15 has two DDR4 SO-DIMM slots near the center.
-
-
Install the RAM:
-
Push the metal retention clips outward to release existing modules (if upgrading).
-
Align the notch on the new RAM stick with the slot, then insert at a 45-degree angle.
-
Press down until the clips snap into place.
-
-
Reassemble:
-
Replace the bottom panel and tighten the screws.
-
Pro Tip: Dell’s XPS series often uses Torx screws. Double-check your screwdriver type!
2. Apple MacBook Pro (M1/M2 Models)
*Important: Most recent MacBooks have soldered RAM and cannot be upgraded. This guide applies only to Intel-based models (pre-2020).*
Steps:
-
Access the Internals:
-
Turn the MacBook upside down.
-
Remove the 10 P5 pentalobe screws (use a specialized screwdriver).
-
-
Ground Yourself:
-
Touch a metal surface to discharge static electricity.
-
-
Install RAM:
-
Locate the RAM slots (near the battery).
-
Spread the retaining clips, insert the RAM at an angle, and press down firmly.
-
-
Reattach the Bottom Case:
-
Align the case and tighten the screws in a cross pattern.
-
Note: For M1/M2 MacBooks, RAM is integrated; upgrades must be configured at purchase.
3. Lenovo ThinkPad T14 (Gen 3)
ThinkPads are designed for easy upgrades, making this a beginner-friendly choice.
Steps:
-
Open the Laptop:
-
Remove the 7 Phillips screws on the bottom panel.
-
Slide the panel toward the keyboard to release it.
-
-
Identify RAM Slots:
-
The T14 has one accessible slot (some models include a second under the keyboard).
-
-
Insert the RAM:
-
Align the module with the slot and press straight down until it clicks.
-
-
Close the Laptop:
-
Replace the panel and screws.
-
Bonus: Lenovo’s Hardware Maintenance Manual (available online) provides model-specific diagrams.
4. ASUS ROG Zephyrus G14 (2023 Model)
A gaming laptop with a unique bottom-panel design.
Steps:
-
Remove the Bottom Cover:
-
Unscrew the 11 Phillips screws (varying lengths—keep track!).
-
Carefully pry open the panel using a guitar pick or plastic tool.
-
-
Locate the RAM Slot:
-
The G14 has one upgradable DDR5 slot (the other is soldered).
-
-
Install the Module:
-
Insert the RAM at a 30-degree angle, then press down until the clips engage.
-
-
Reattach the Panel:
-
Ensure all vents and ports align before tightening screws.
-
Warning: Avoid touching the motherboard or cooling components.
5. HP Pavilion 15 (2022 Edition)
A budget-friendly laptop with straightforward internals.
Steps:
-
Open the Laptop:
-
Remove 9 Phillips screws from the bottom.
-
Lift the panel starting from the rear edge.
-
-
Upgrade the RAM:
-
Push the retention clips on the existing module(s) to release them.
-
Insert the new RAM until the clips lock.
-
-
Reassemble:
-
Snap the panel back into place and secure the screws.
-
Troubleshooting: If the laptop doesn’t boot, reseat the RAM and ensure full insertion.
Testing Your Upgrade
-
Power On:
-
Reconnect the battery (if removable) and turn on the laptop.
-
-
Verify RAM Recognition:
-
Windows: Open Task Manager (Ctrl+Shift+Esc) > Performance > Memory.
-
macOS: Click Apple logo > About This Mac > Memory.
-
-
Run a Stress Test:
-
Use free tools like MemTest86 to check for errors.
-
Final Tips for Success
-
Avoid Static Electricity: Work on a non-carpeted surface and ground yourself.
-
Don’t Force It: If the RAM doesn’t slide in easily, realign it.
-
Check Warranty: Some manufacturers void warranties if you open the device.
Conclusion
Upgrading your laptop’s RAM is a cost-effective way to extend its lifespan and improve performance. By following these model-specific steps, even novice users can confidently tackle the task. Remember: patience and preparation are key! If you’re ever unsure, consult your laptop’s manual or a professional technician.
Choose the best laptop processor in 2025
Difference in a Laptop & a Desktop CPU
Related Article
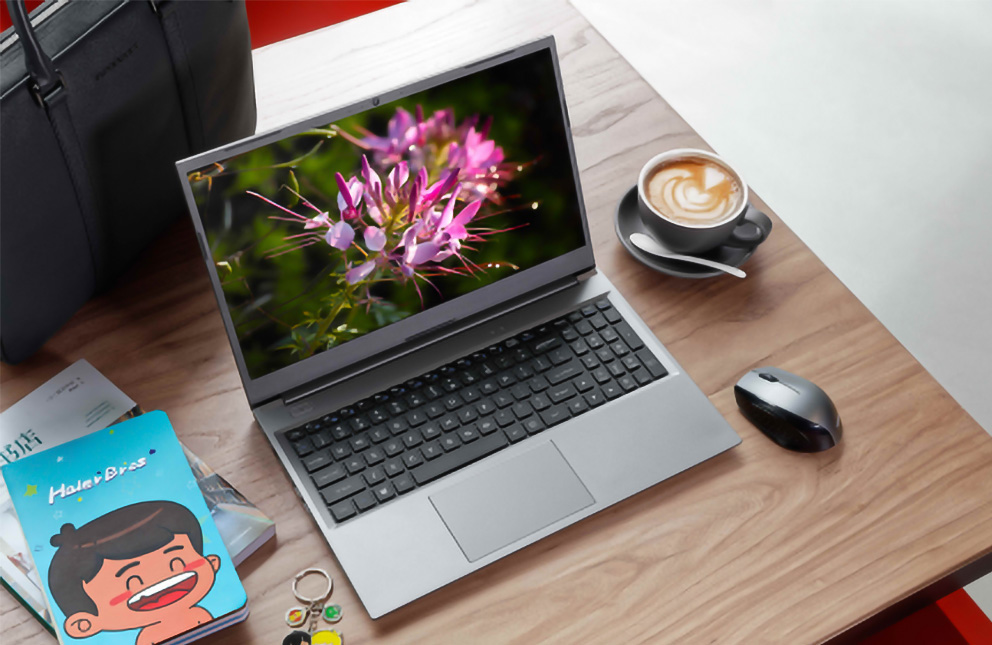


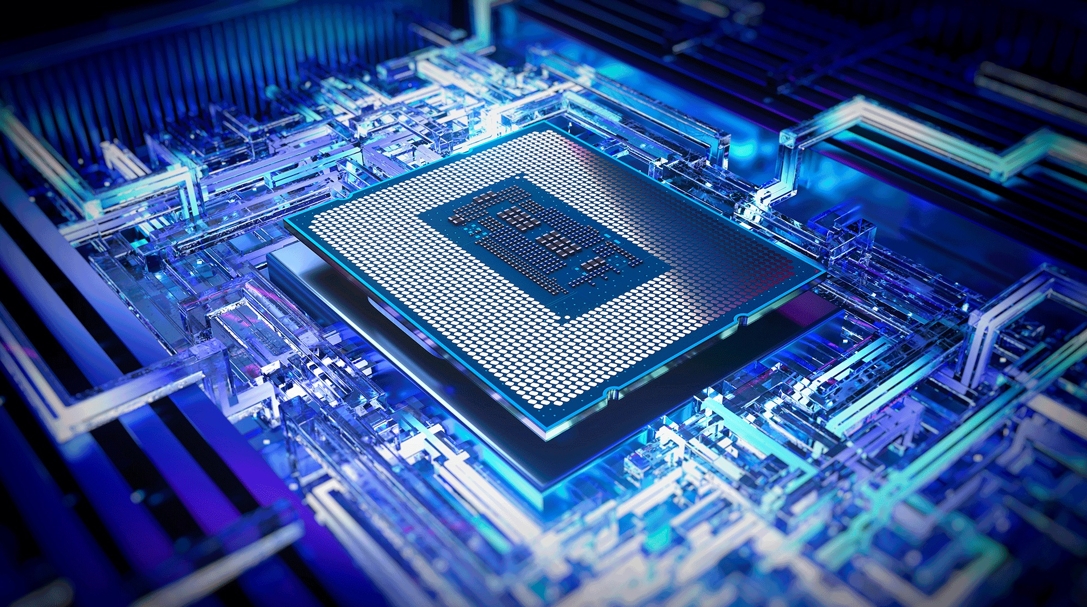
Today's laptop processors are marvels of engineering that blend raw power with specialized intelligence. Unlike older chips that relied solely on brute force, modern processors integrate dedicated AI engines called NPUs (Neural Processing Units), advanced graphics, and sophisticated power management systems.